Introduction #
this Section’s purpose is to take you through the process of building a simple App in Wizzdi Cloud.
the example is available on wizzdi cloud public marketplace
Register #
Before Using Wizzdi Cloud You must register.

Email/Password Registration #
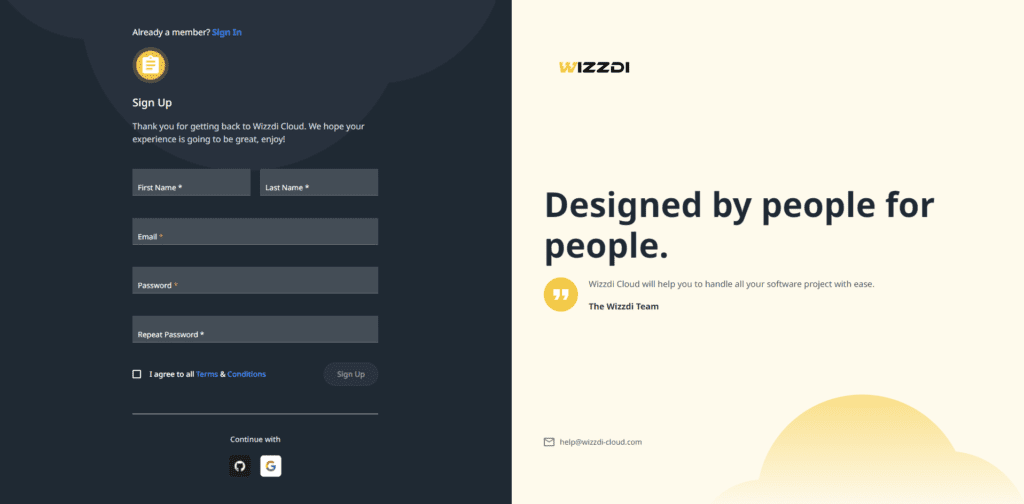
- press the Sign Up highlighted text
- input the details above
- Press the Sign Up button
Single Sign On Register/Login #
press the Google Icon or the GitHub Icon , to SSO with Google/GitHub.
Create App #
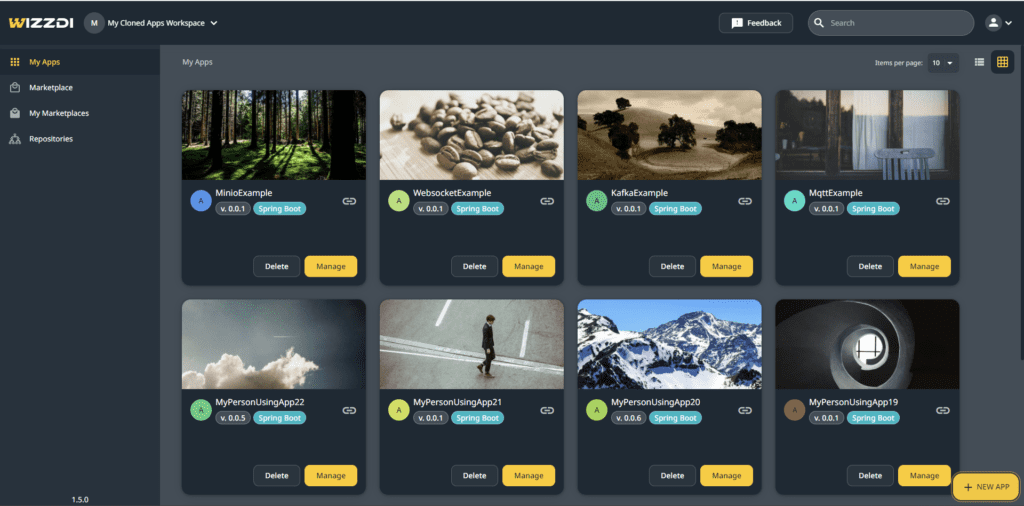
press the New App button on the bottom right of the screen.
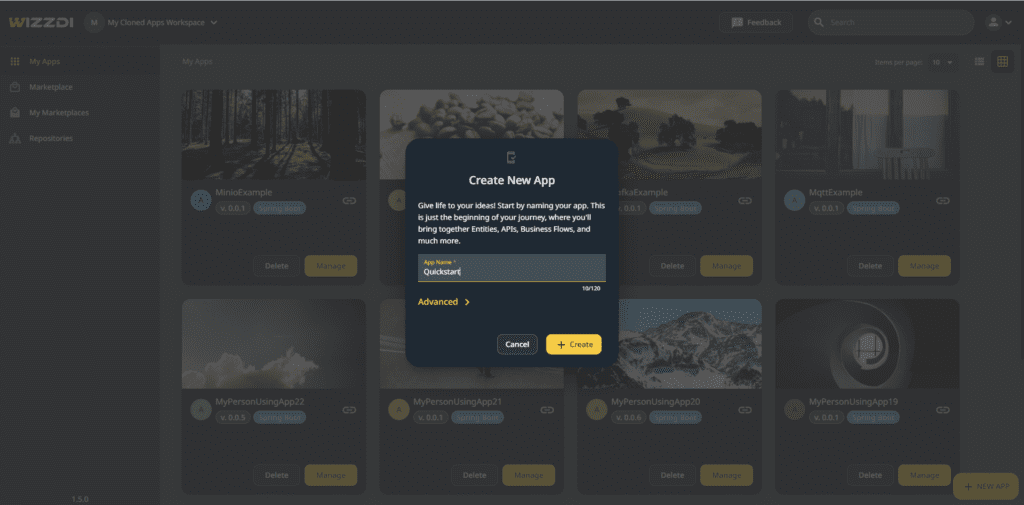
insert your App’s name.
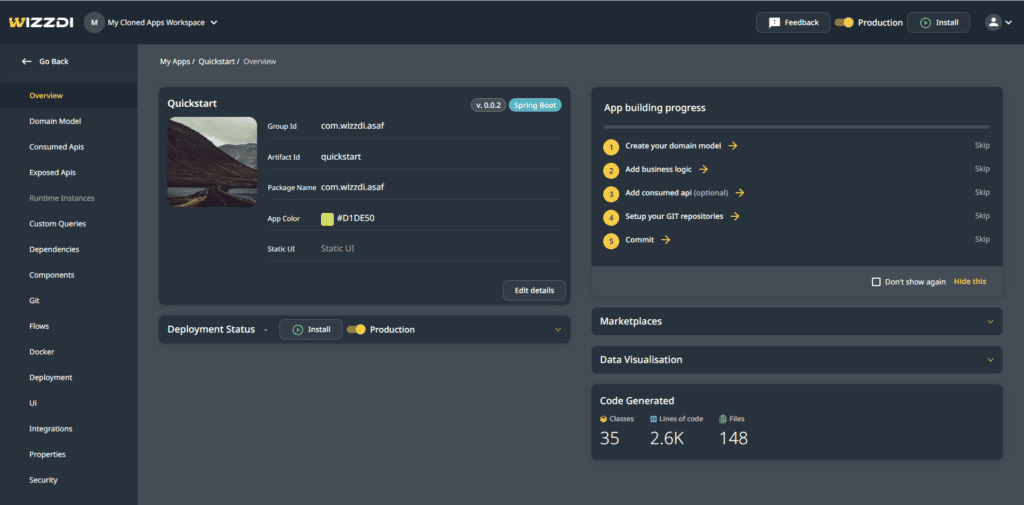
App Overview #
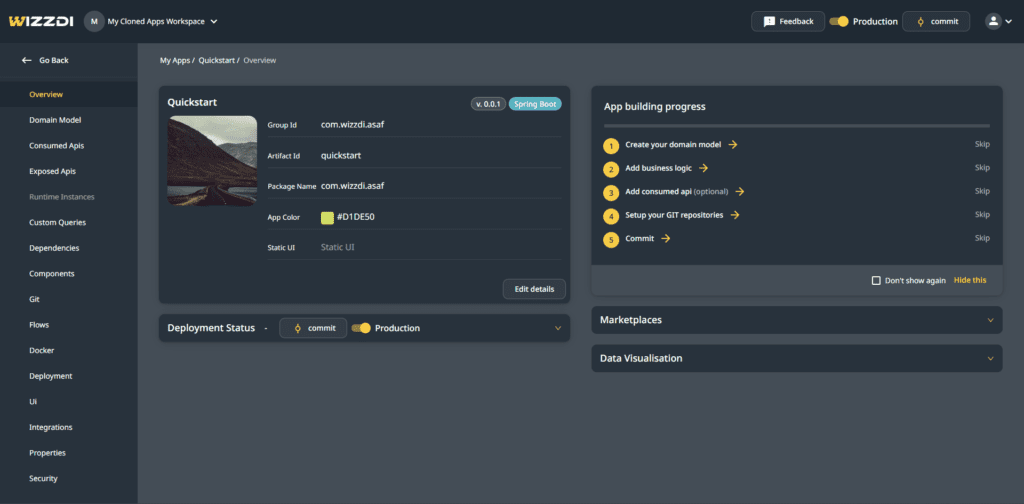
Domain Model #
in this part we will create a simple Person Entity with the fields: id,address,birthDate.
the Domain Model Editor is a powerful tool that allows creating connection between entities ,setting indexes , creating inheritance relshionship and much more.
for a more extensive view of the Domain Model Editor check its documentation.
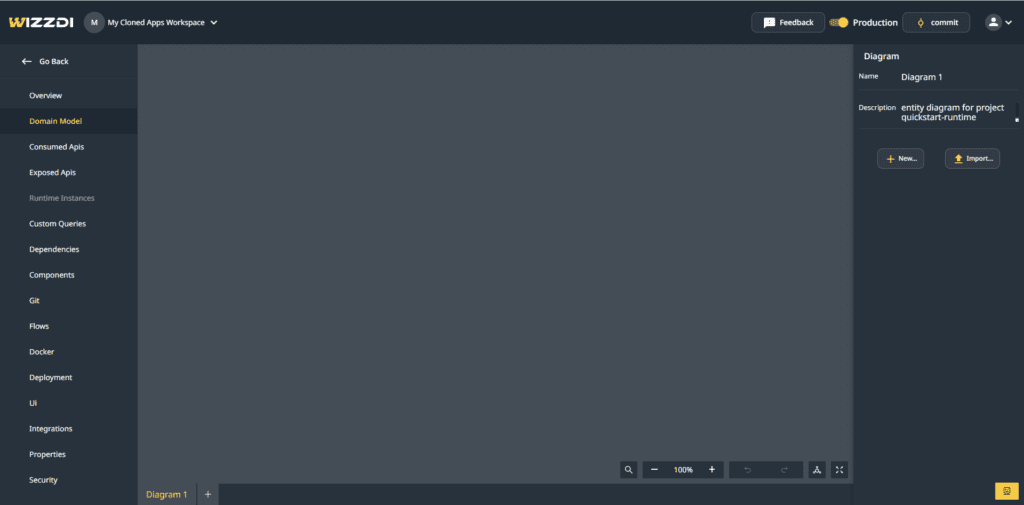
Create The ‘Person’ Entity #
- on the right side menu select the New… button and select New Entity
- a new rectangle will show on the editor , enter the Entity name – ‘Person’ and press OK
Add The ‘id’ Field #
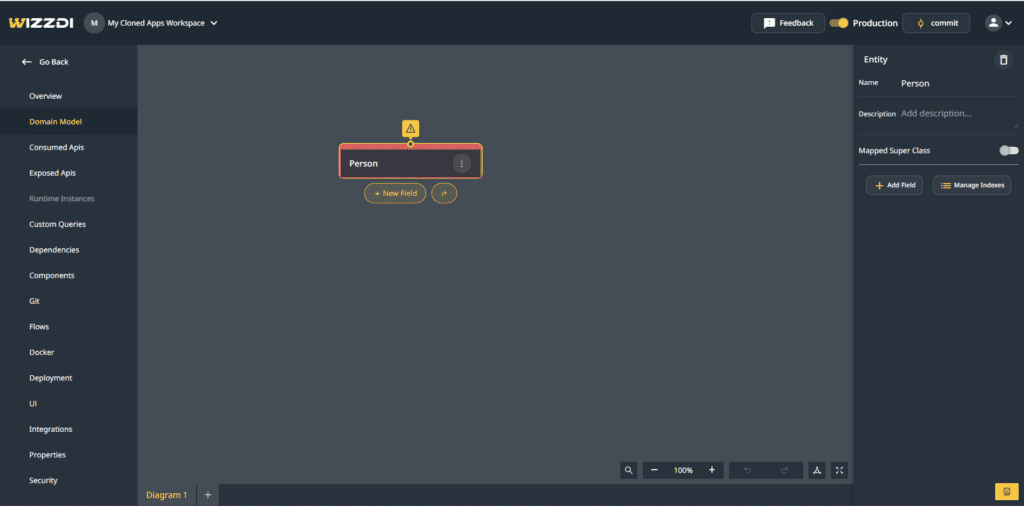
- select the ‘Person’ Entity
- press the Add Field button
- insert name ‘id’
- press Enter in the keyboard or the green checkmark
Add The ‘Address’ Field #
- select the ‘Person’ Entity
- press the Add Field button
- insert name ‘address’
- press Enter in the keyboard or the green checkmark
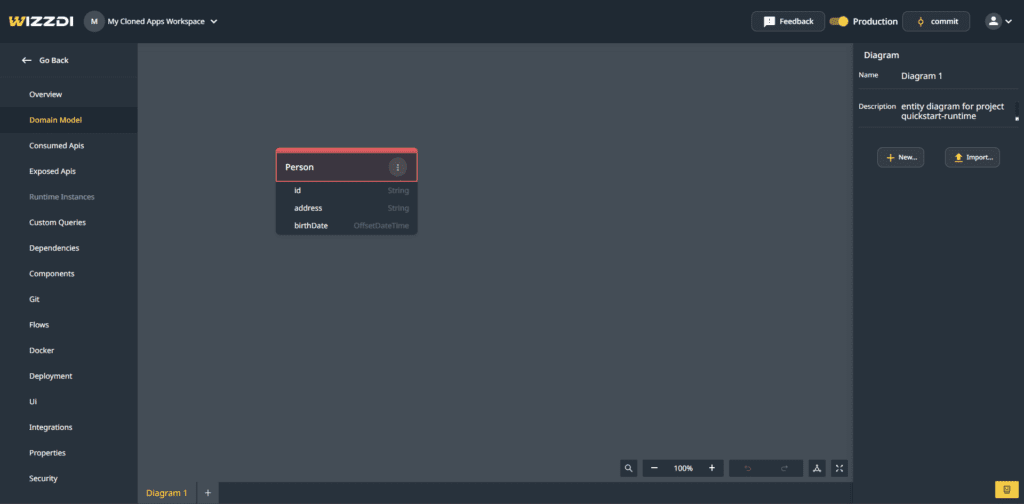
Add The ‘birthDate’ Field #
- select the ‘Person’ Entity
- press the Add Field button
- insert name ‘birthDate’
- press Enter in the keyboard or the green checkmark
- select the ‘birthDate’ field
- on the right side drawer select the type (currently ‘String’)
- in the drop down select ‘OffsteDateTime’
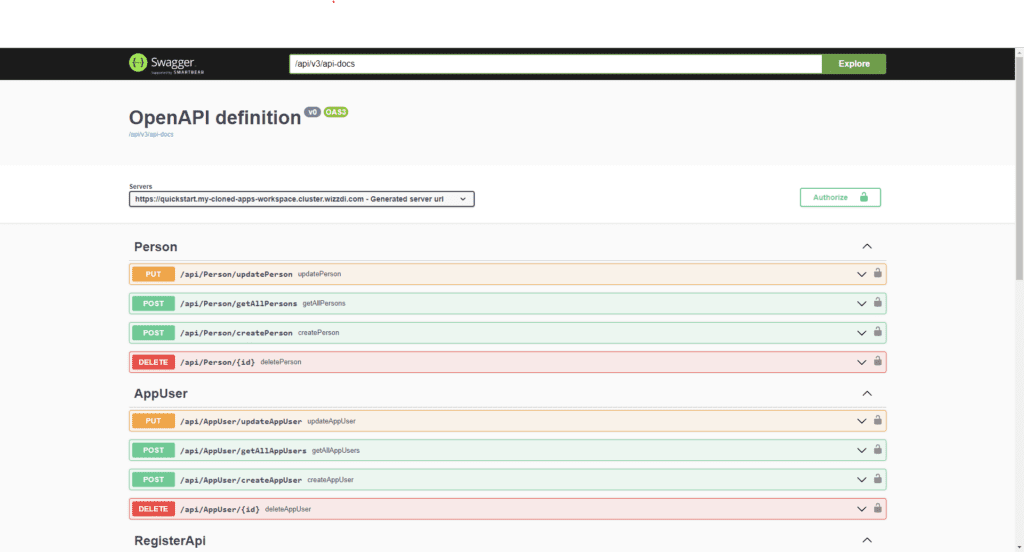
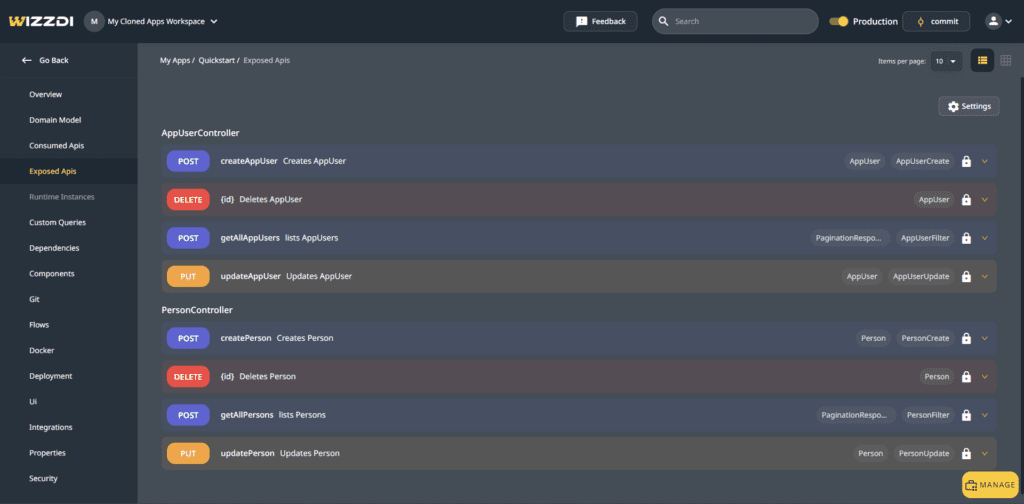
Exposed APIs #
In this section we can see the automatically CRUD (create, read, update and Delete) APIs.
more options available here such as adding a new custom endpoint , defining if the project is a contract-first of domain-first and much more.
check the Exposed API Documentation for an extensive view of it.
Git #
In Wizzdi Cloud Users allways own the code they generate from the platform . to deploy the app we must first commit it to a GIT repository.
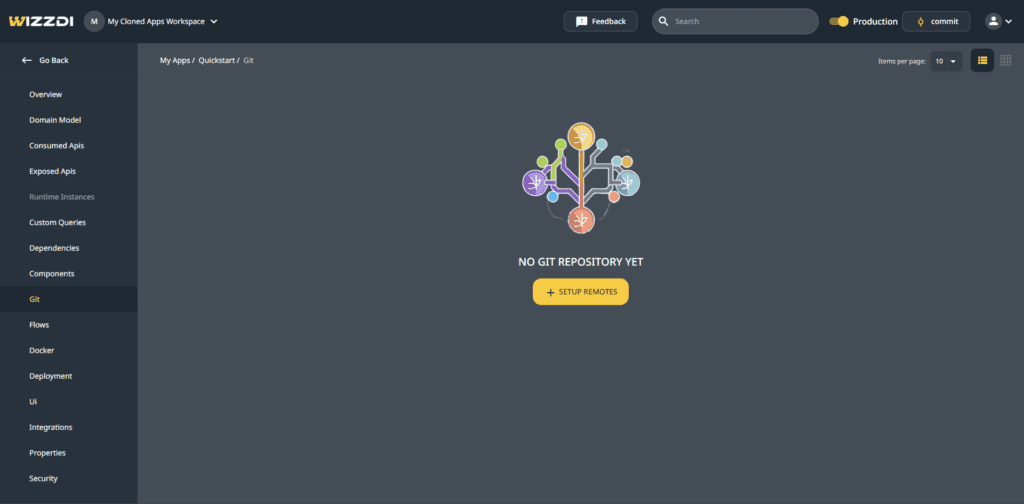
Setup Remote #
lets setup the remote git repository that the platform should push code to.
you should select one of the two options bellow
Automatic Connection With Github #
we will do this by connecting with github in one click
- press the SETUP REMOTES button
- on the right side drawer press the pencil button
- press the Connect With GitHub button
- in GitHub screen press the Install & Authorize button
- press the OK button
Setup Remote (Manual) #
lets setup the remote git repository that the platform should push code to.
we will do this by providing the GIT credentials to connect to the target git repository.
- press the SETUP REMOTES button
- on the right side drawer press the pencil button
- press the Manual Connection button
- insert the Name which will be the name of the remote in wizzdi cloud
- insert the Username which will be used to connect to the git repository
- insert the Password which will be used to connect to the git repository
- insert the URL of the git repository
- press the OK button
NOTE: some GIT providers such as bitbucket and GitHub do not allow using normal username/password credentials
and App Passwords / developer tokens should be used per the provider documentation.
Commit #
now that we have setup the remote git repository for the application , lets commit the code .
wizzdi cloud will generate compile and commit it to the git repository setup above.
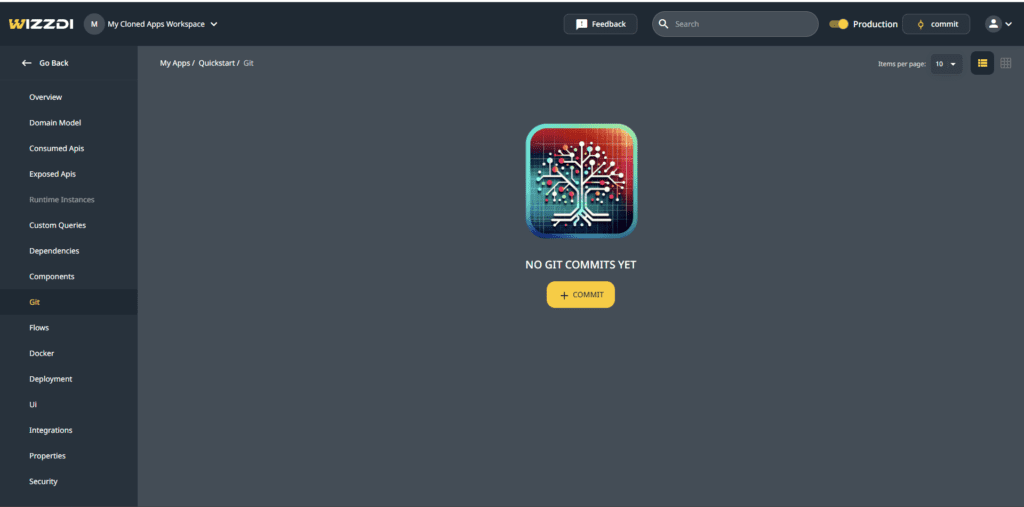
- press the Commit button
- insert a commit message , for example : “Init”
- press the Commit button
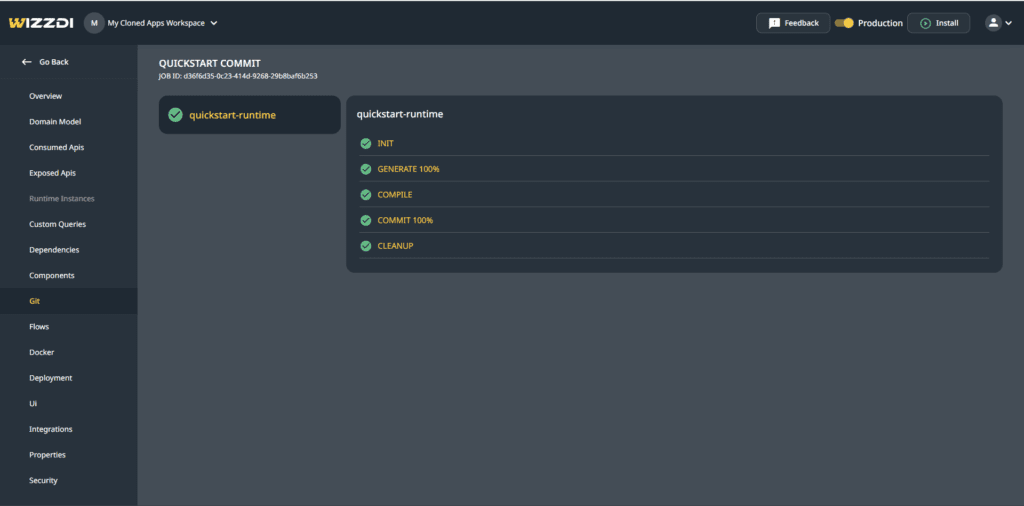
you should now see the progress for generate compile and commit.
Review The Code #
now the code should be available , this example code can be found here.
Deploy #
lets deploy our application into Wizzdi Cloud secure scalable Cloud.
in the overview screen press the install button , press the OK button in the next dialog.
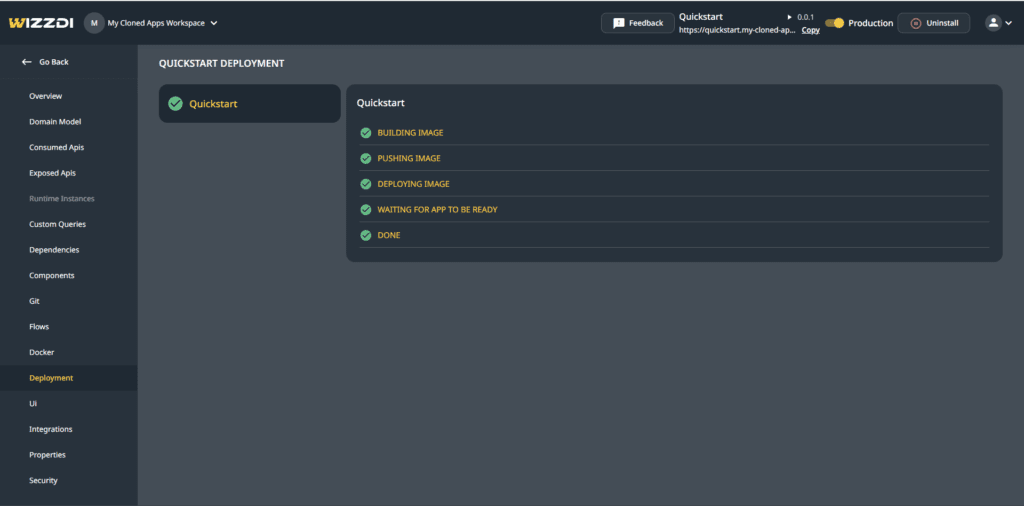
a progress screen for the app deployment will be opened.
when it is successfully done we will see this screen:
Run #
now that the app is deployed we can check the app’s Overview section there we will see the server’s URL as well as the swagger URL which allows us to try APIS
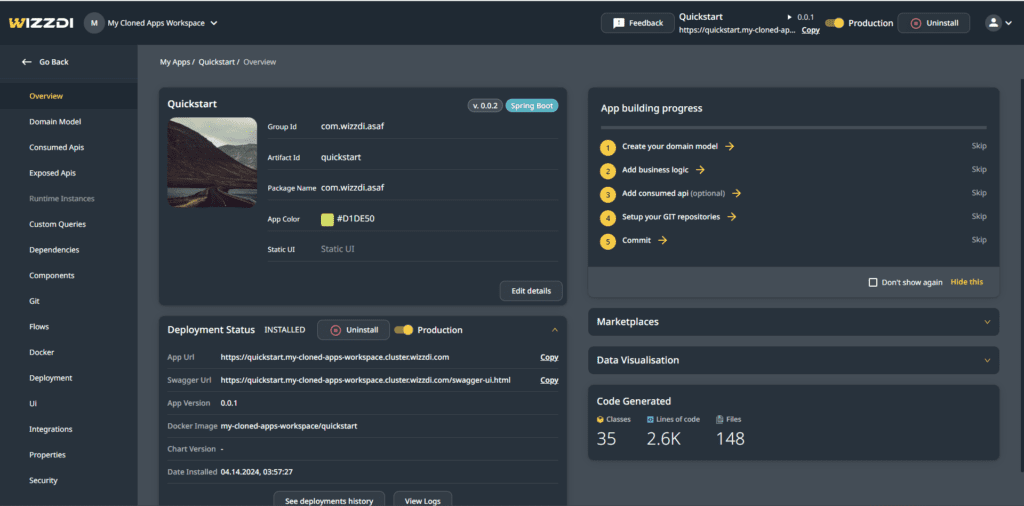
we can now press the copy button next to App Url or next to the Swagger Url to get the api root or the swagger UI.