Overview #
Exposed API is the collection of the REST endpoints the created backend exposes. These endpoints are usually consumed(used) by client-facing apps on mobile, web, or desktop.
Other backends can also consume exposed Apis. When integrating with other systems, services offered by the backend you build can be utilized by other systems; these systems can be built with Wizzdi Cloud or any other framework or programming language.
Wizzdi Cloud automatically generates API endpoints based on the entities you define within your domain model. This feature simplifies the backend development process, ensuring that every entity you create is instantly accessible and manageable. Additionally, Wizzdi Cloud offers flexibility in adding or importing API endpoints for advanced use cases or specific requirements.
Note: The automatic generation of API endpoints from entities can be turned off.
1. Default API Generation: #
- Entity-Based Automation: As soon as you create entities in the domain model editor, Wizzdi Cloud generates corresponding API endpoints. These entities’ basic CRUD (Create, Read, Update, Delete) operations are instantly set up without further intervention.
- Immediate Usability: With automatically generated APIs, your backend is instantly operational. As you evolve your domain model, the system adapts immediately, updating the available API endpoints as necessary.
2. Advanced API Management: #
- Manual Endpoint Addition: There might be scenarios where you require custom API endpoints for specialized operations or to cater to unique functionalities. Wizzdi Cloud’s interface allows for the intuitive addition of individual API endpoints, granting you complete control over the specifics.
- OpenAPI Document Import: To streamline the process further and accommodate extensive API structures, Wizzdi Cloud supports importing OpenAPI documents. This feature is especially beneficial when migrating or integrating extensive systems, as it bypasses the need for manual entry. Upon importing, all the endpoints defined in the OpenAPI document are readily available within Wizzdi Cloud.
Wizzdi Cloud’s approach to managing exposed API endpoints balances automation and customization. Whether building from scratch or integrating existing systems, the platform offers tools to ensure your backend is robust, responsive, and ready for deployment.
Description #
By Default, Wizzdi Cloud generates CRUD API endpoints. To change this behavior, select Exposed API from the menu.
Select Settings 
Then, switch off the Auto Generation option. 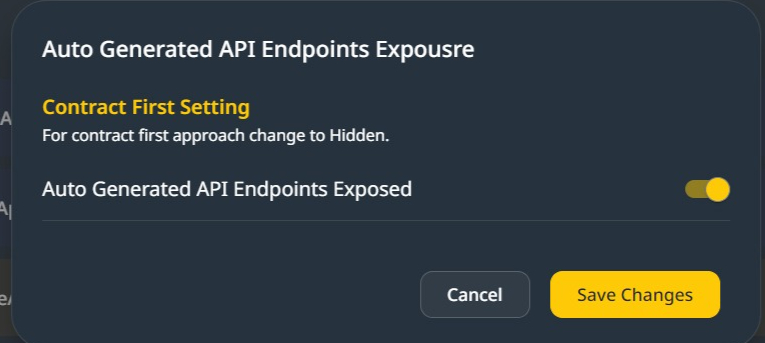
Importing an Open API API specifications #
Wizzdi Cloud supports the import of Open API definitions from a URL or a file. In both cases, the definitions can be JSON-based or YAML-based.
Importing Open API specifications is the first step in the Contract First approach. Alternatively, the API endpoints can be manually defined.
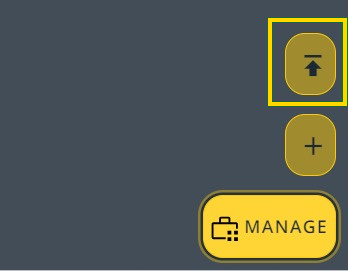
Select manage at the bottom right corner of the Exposed Api section, then select the top option.
Import Open API definitions from the URL into the Exposed API. #
Below is an example of an OpenAPI URL from another demo App deployed in Wizzdi Cloud Customer’s cluster, where Apps may run.
In such cases, the URL is https://[appname].[workspace].cluster.wizzdi.com/api/v3/api-docs
for example, https://publish16.avishay-s-workspace.cluster.wizzdi.com/api/v3/api-docs.
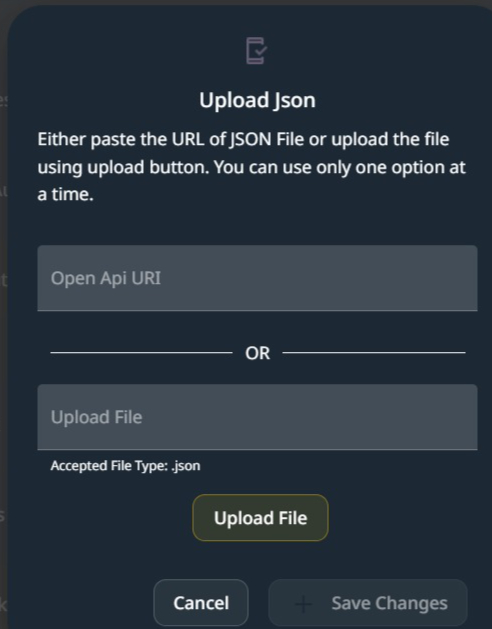
Paste the URL in the upper text box of the import OpenAPI dialog.
Here is the link
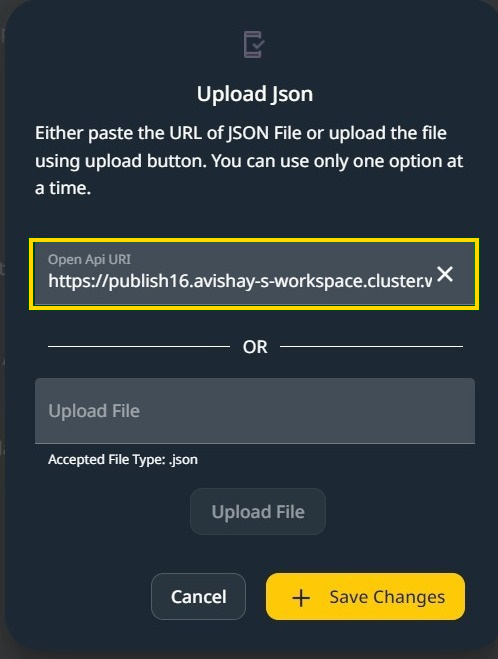
Hit the Save Changes button. After a while, you should see the endpoints in the exposed API view.
To import from a file, click Upload File and browse for a valid OpenAPI file on the local system.
The import can be executed as many times as required. Note that importing an existing endpoint will not change its signature.
Changing the EndPoint properties can be carried out by the built-in editor provided in Wizzdi Cloud.
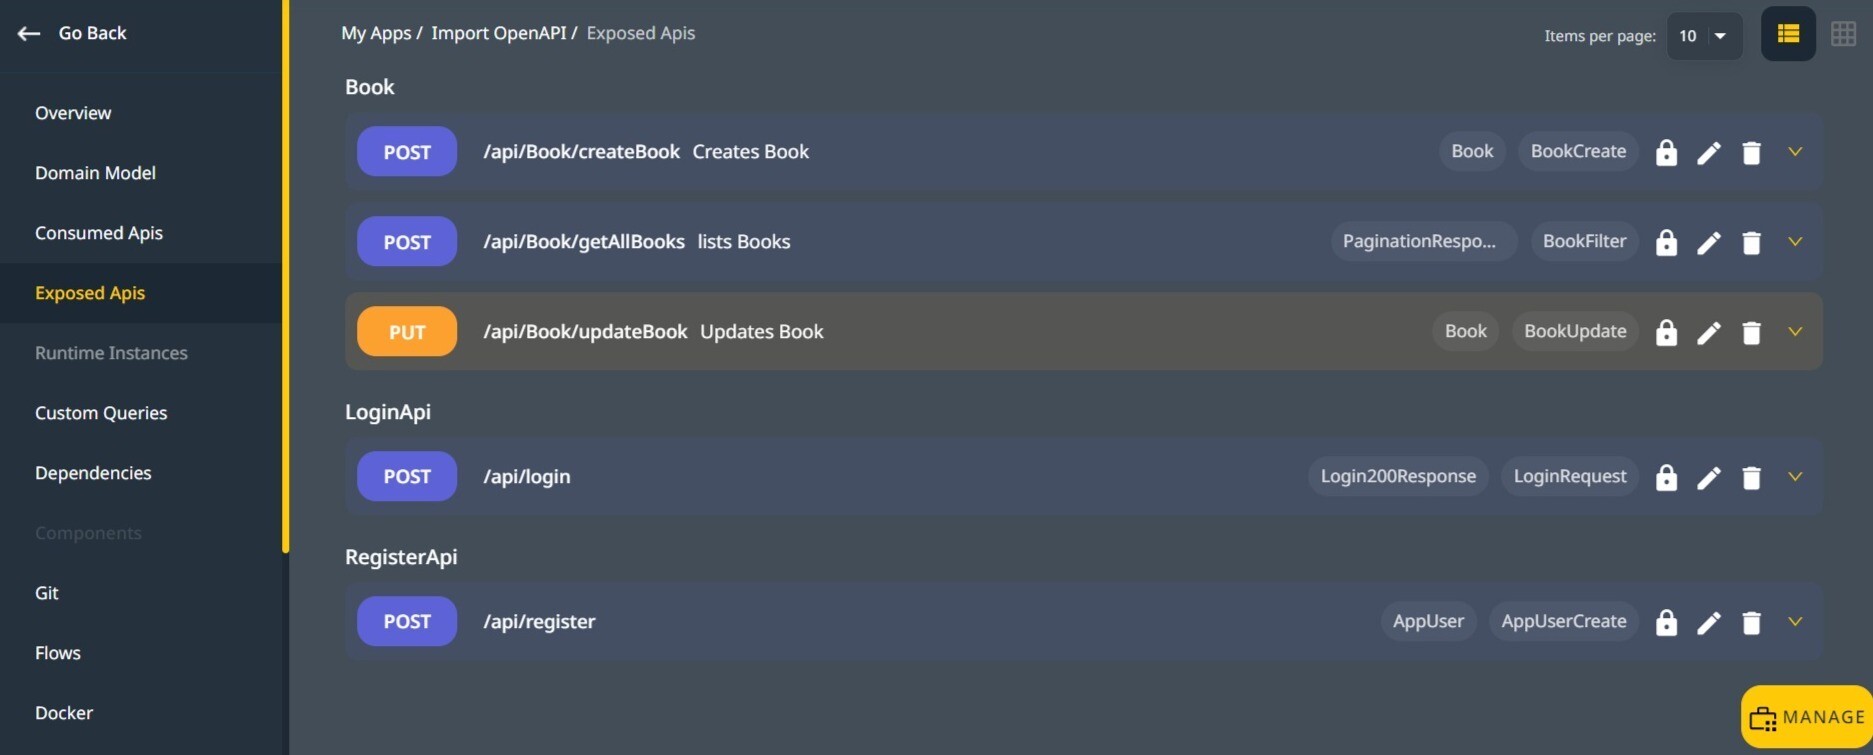
One needs to scroll to see all imported endpoints.
Note: We can see the endpoints if we deploy the application now. However, the endpoints are not currently linked to any actual actions. Linking the endpoints to ‘real’ actions requires the following steps:
- Infer the domain needed model from the endpoint definitions.
- Create the domain model entities, enums, and relationships.
- A Custom Query, a Flow, or both for each endpoint.
- The imported API defines the request and response objects required in the Custom Queries and Flows.
Manually Creating a Custom Endpoint #
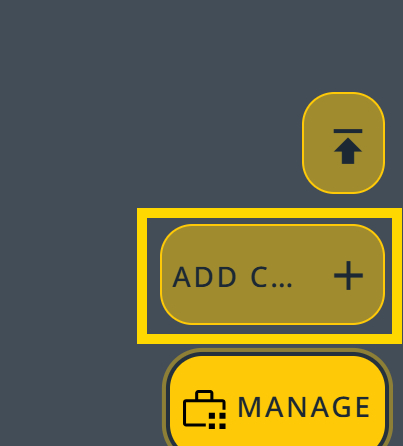
In the exposed API section, click the ‘Manage’ button at the bottom left of the screen and access the Add Custom Endpoint option.
First, define the primary properties of the new endpoint
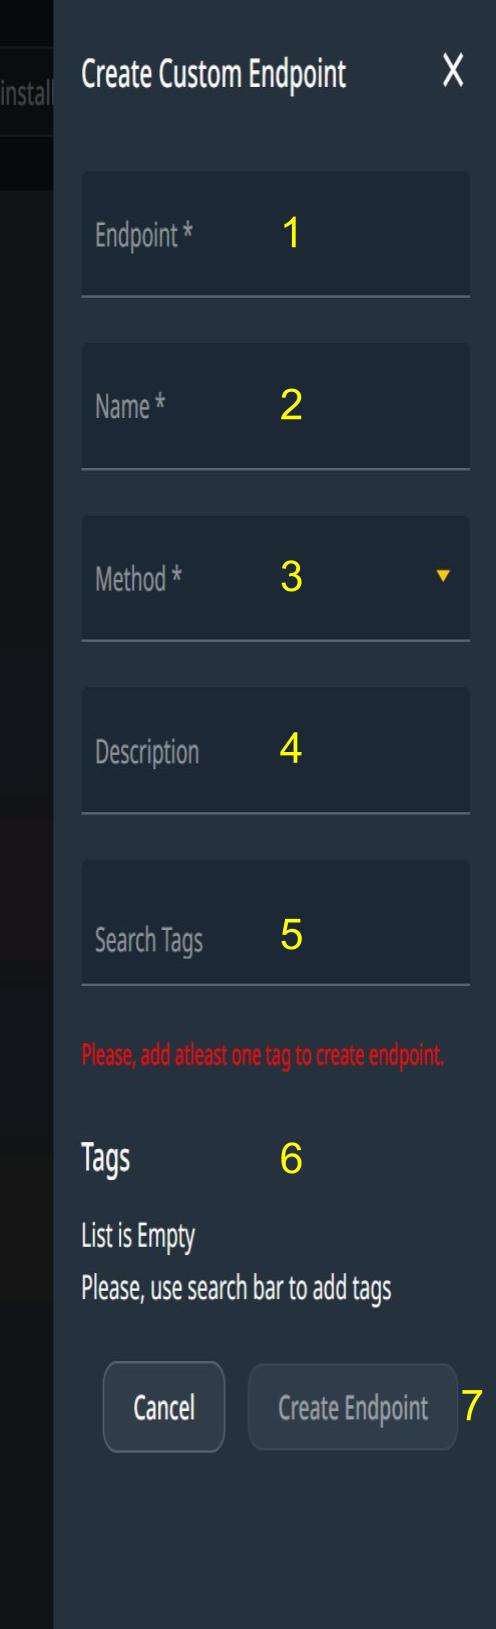
Legend #
- This is the endpoint name used when calling the API.
- This is the name of the method created in the corresponding controller.
- The Method of this endpoint, Wizzdi Cloud, supports the Post, Get, Put, and Delete methods.
- The description of the endpoint for documentation purposes.
- The Tags associated with the endpoint, Tags are used to group endpoints. Endpoints can be associated with multiple tags and displayed in the OpenAPI interface multiple times.
- The list of tags associated with the endpoint. An endpoint must be associated with at least one tag.
The above dialog is also available when editing an endpoint.
#
#
#
Managing Exposed EndPoints. #
Once the API is imported, endpoints are visible under the corresponding tags in the OpenAPI document.
This is also true for an API that is created manually.
To enable an endpoint in a web application or API to perform specific actions, it must be integrated with either a Flow or a CustomQuery. A Flow refers to a predefined sequence of operations or tasks the endpoint will trigger and execute. These operations could include data processing, database interaction, calling other services, or other flows. On the other hand, CustomQuery is a user-defined operation tailored for complex or specific data retrieval. It involves using the Wizzdi Cloud custom query visual tool. By linking an endpoint to a Flow or a CustomQuery, you define the exact functionality that the endpoint will offer, essentially ‘programming’ it to respond to client requests meaningfully.

To edit an endpoint, click on the small open triangle to the right of its available tools.
Endpoint primary properties #
Click on the small pencil icon to access the endpoint’s primary properties.
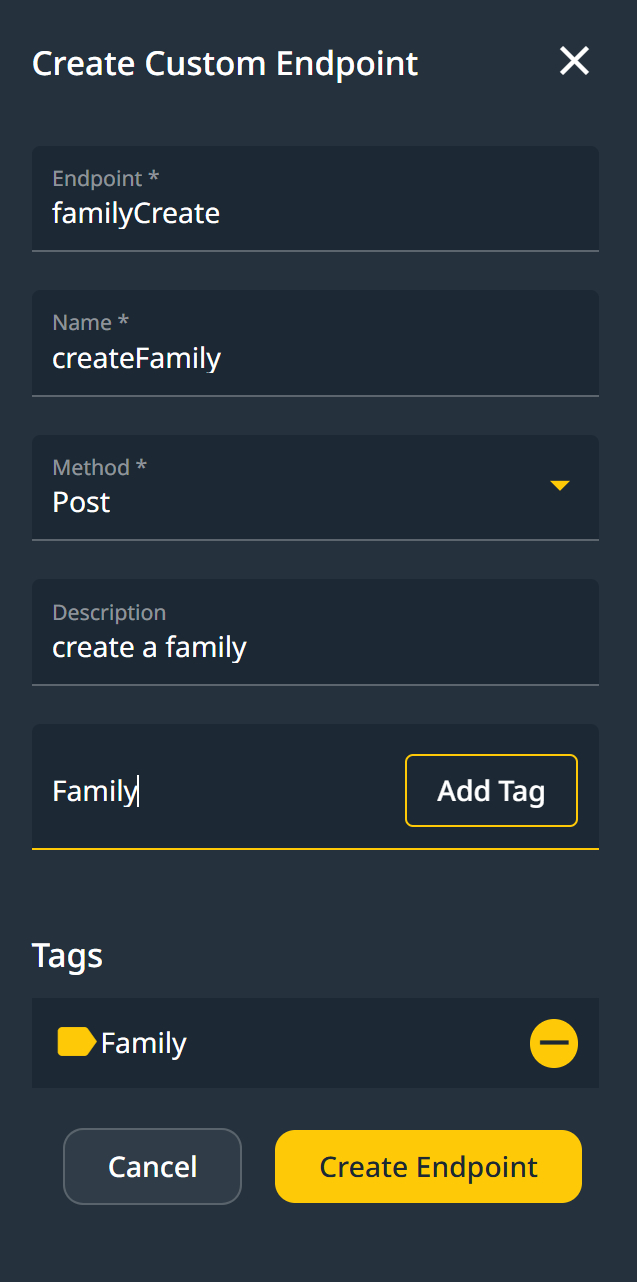
To associate the endpoint with a tag, start typing the tag name; if the tag exists, you can use the + sign near the tag to associate it with the edited endpoint. The current version of Wizzdi Cloud doesn’t support multiple tags per endpoint.
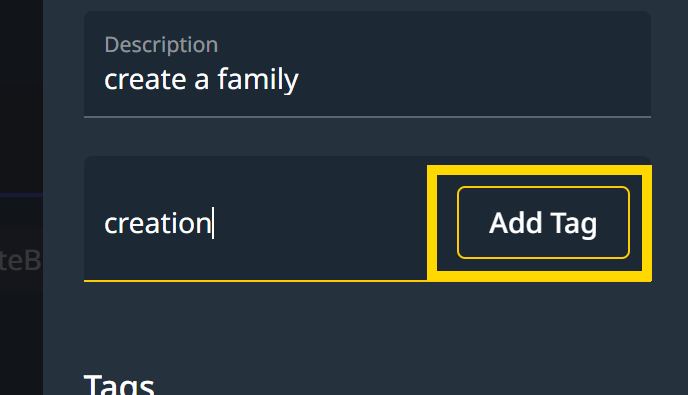
If the tag does not exist, a button will appear, allowing you to add one and associate it with the edited endpoint.
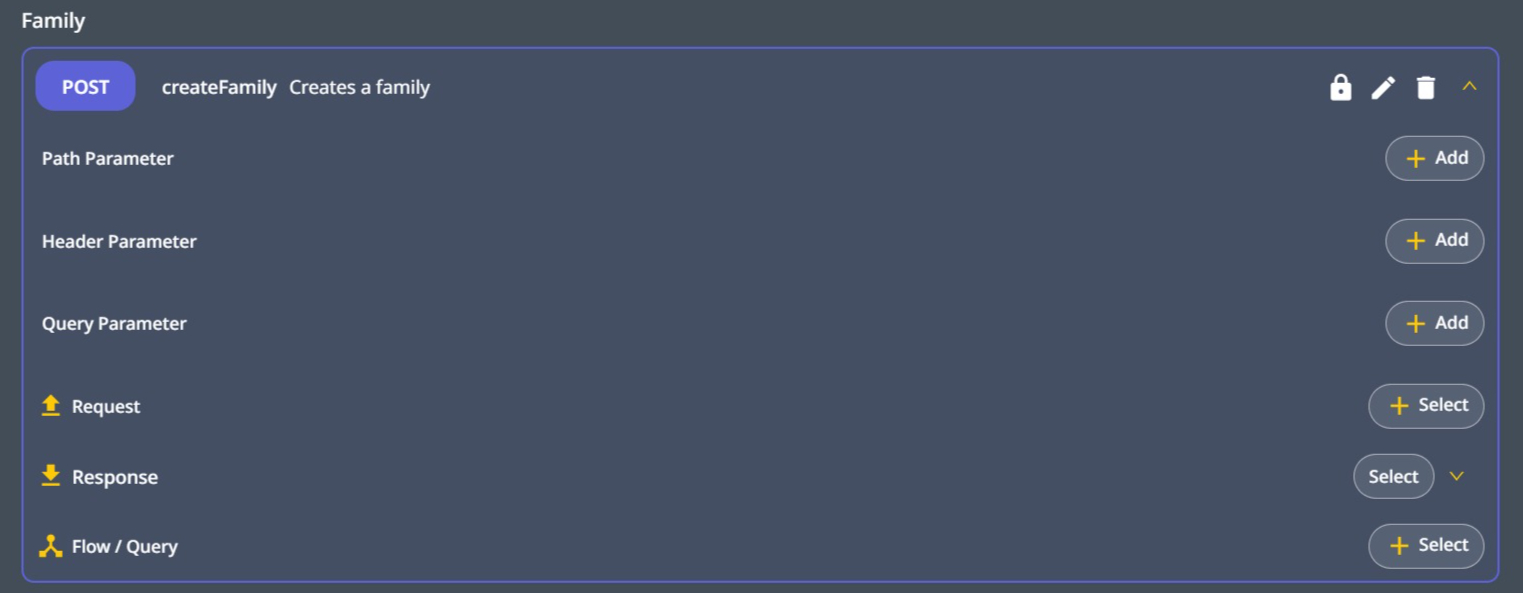
Endpoint additional properties #
Once the endpoint has been created, its other properties can be set. This includes the path, Header, and Query parameters.
Expand the view of the endpoint by clicking on the small arrow:
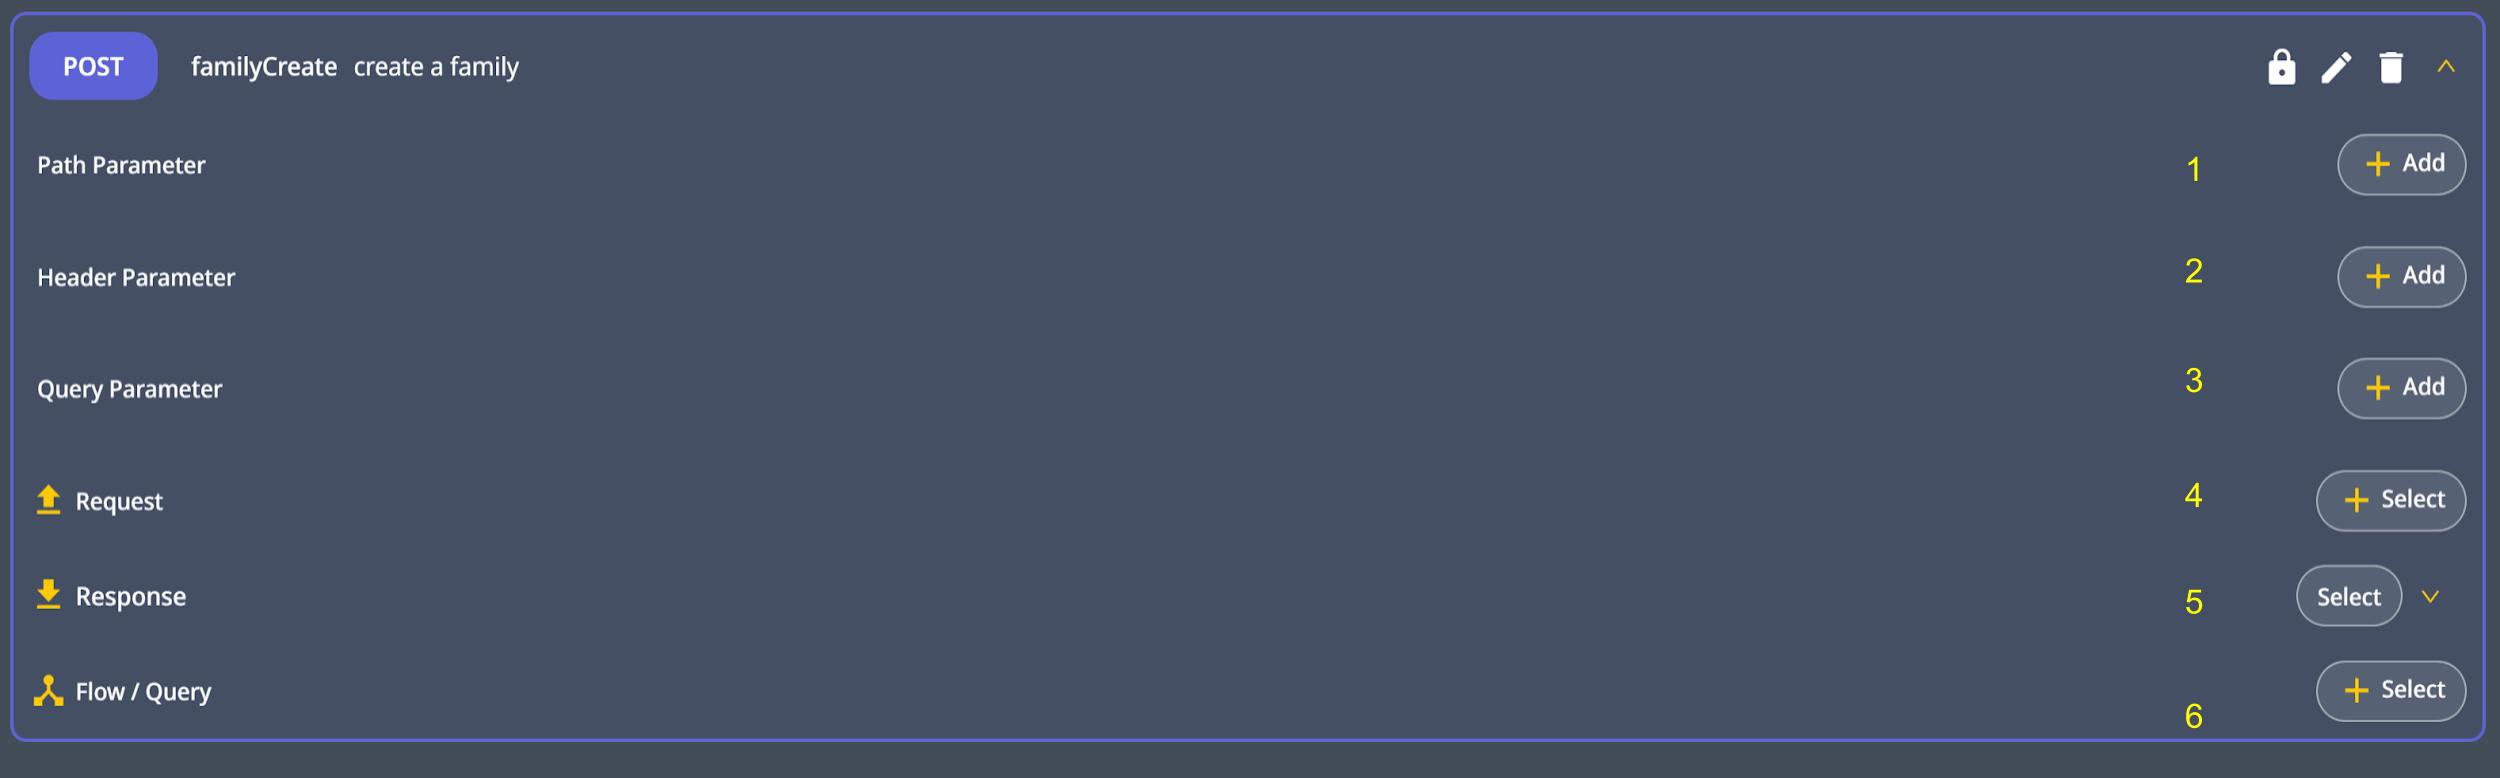
1. Path parameters
These are parameters embedded directly in the URL path to identify specific resources.
2. Headers Parameters.
These are metadata (key-value) or information included in the request headers but are not visible in the URL
3. Headers Parameters.
Adding Request object #
The Request Object is essential in a POST method. It contains a JSON body from the client, which the server uses to retrieve, create, or update resources.
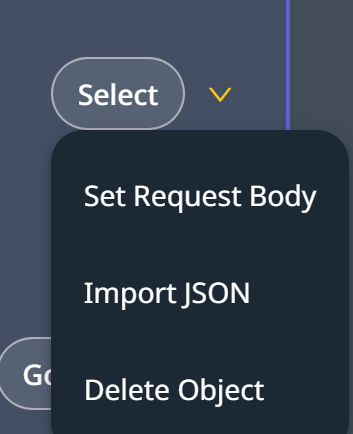

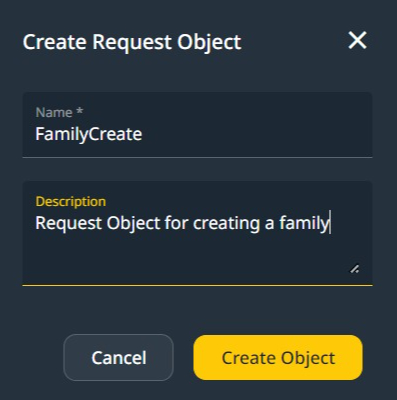
- Create a new object called FamilyCreate.

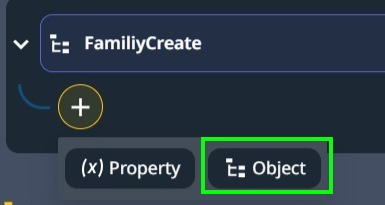
- Open the new object members editing by clicking on the two small arrows, first #1, then # 2
- Proceed by clicking on the ‘+’ sign to add a member.
- Select Object here ->
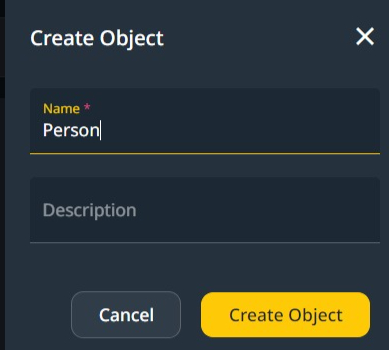
- In the Object Creation dialog, Select the name -> Person
- The default name for the created Person object is ‘person’; let’s use the ‘pencil’ icon to change it to Parent1 as below:
- Let’s expand person1 using the small arrow to the left of its name and click on the ‘+’ sign to add two properties. A name and a birth date.


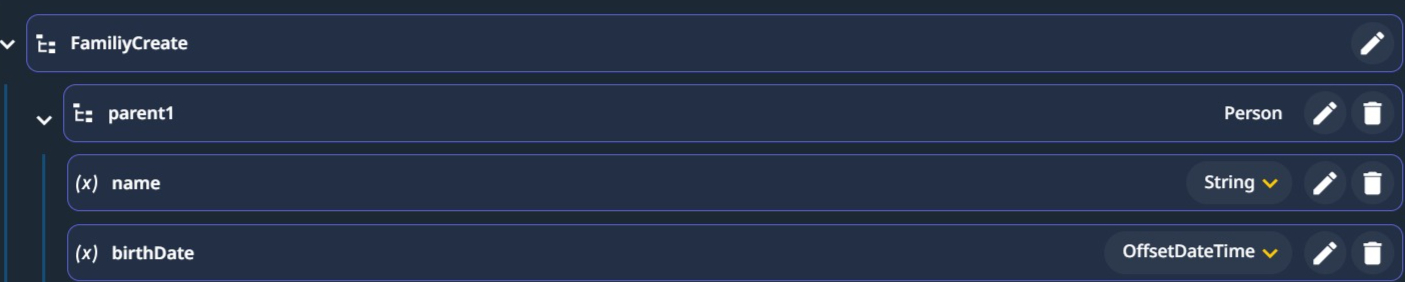
Note: Adding these properties to the parent1 field in the request object changes the object Person. Other uses of the Person object are immediately affected.
- Let’s add a new parent2 field. At this time, the Person object is defined, and we will create a Property of the type Person.
- Click on the ‘+’ sign at the highest level of the Request object and select Property.
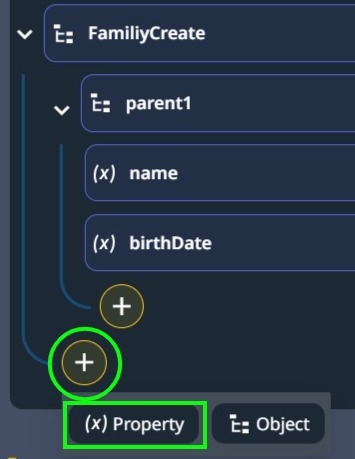
Note: Please be cautious when selecting which ‘+’ sign you click on. In the image above, the upper ‘+’ adds fields to parent1, whereas the lower ‘+’ adds fields to the request object.
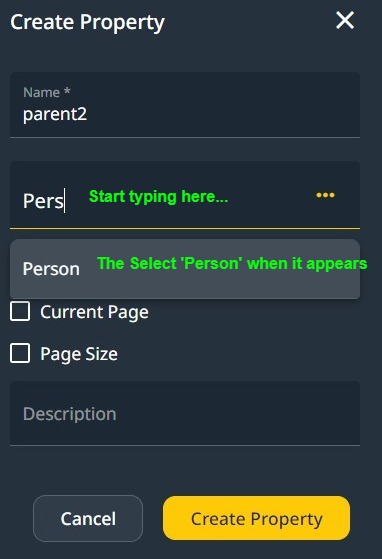
- Add the name parent2, then start typing ‘Perso’ in the Type field. When the previously defined Type becomes available, select it.
- Click on ‘Create Property’ to dismiss the dialog.
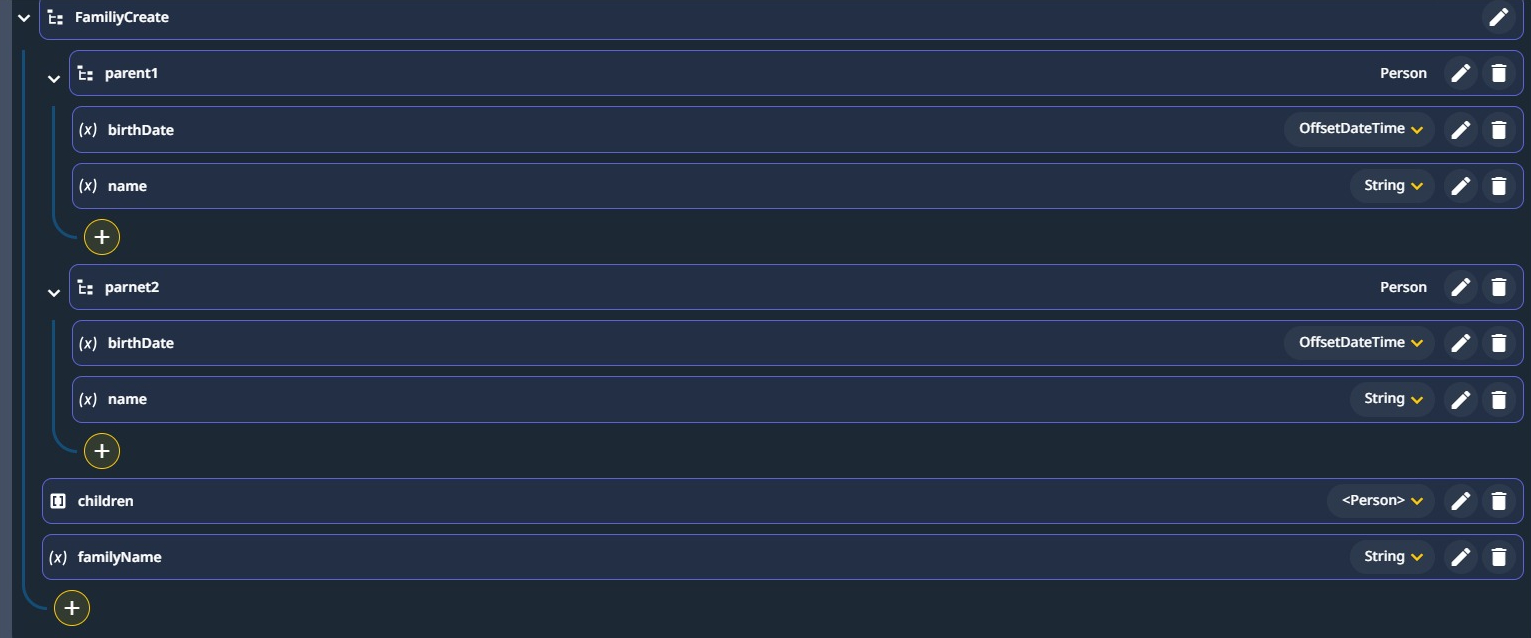
- Once both parents are added, you should see:
- Let’s add a List of children to the FamilyCreate object:
- We have added a familyName to the request object. The final object is below: