Introduction #
In Wizzdi Cloud, “Workspaces” are a key organizational feature. Think of a workspace as a virtual room or office space on the cloud where you can gather different applications that serve a common purpose or are used by a specific team. This arrangement helps keep related apps together, making them easier to manage and access.
The workspace concept is very beneficial for teamwork and collaboration. You can invite others, such as team members, clients, or stakeholders, to work together within a Workspace. Each person you invite can access the apps within that Workspace.
A critical aspect of this system is controlling who gets to see or do what within the Workspace. This is managed through “access rights” or permissions. For instance, you might allow team members to edit and update Apps while clients can only view the information. This ensures that sensitive data or functionalities are only accessible to those who need them, maintaining security and efficiency in collaboration.
In summary, Workspaces in Wizzdi Cloud help organize your applications, foster collaboration among different users, and provide a controlled environment where access rights ensure security and proper management of resource
Default workspace #
The first workspace is created when you sign up for Wizzdi Cloud. Once you are signed in, you can see this workspace here:

Every new app you create is placed in the current workspace; if you have not created new workspaces, they will be in the first workspace created for you.
Creation #

Add Name and Description.
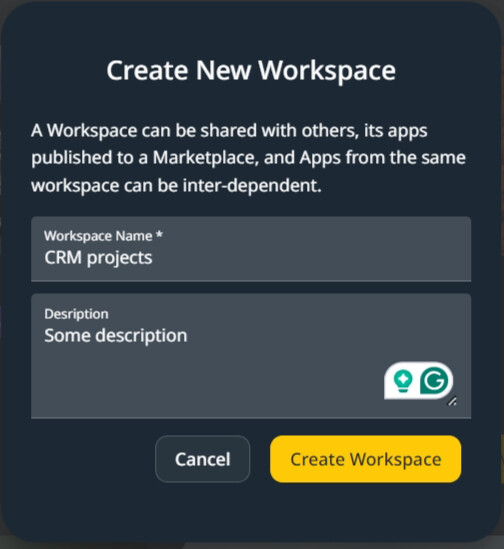
The creation of a new workspace takes some time.
Selection #
You can switch to a different workspace by clicking on it, and the small checkmark on the right designates the current workspace.

Management #
To manage A workspace, click the ‘manage’ button next to it. You can only manage the current workspace.

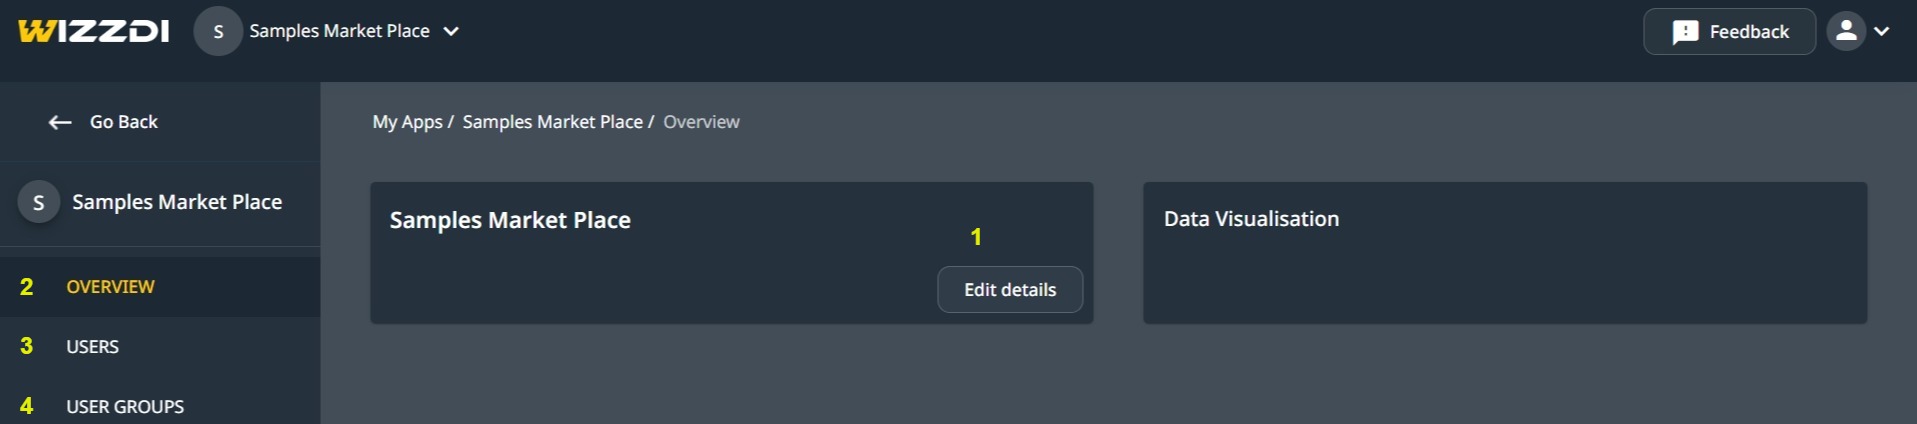
Legend
- Edit the name and the description of the workspace
- Return to overview; ‘edit-details’ becomes available.
- Manage users.
- Manage User groups.
Edit Workspace Details #
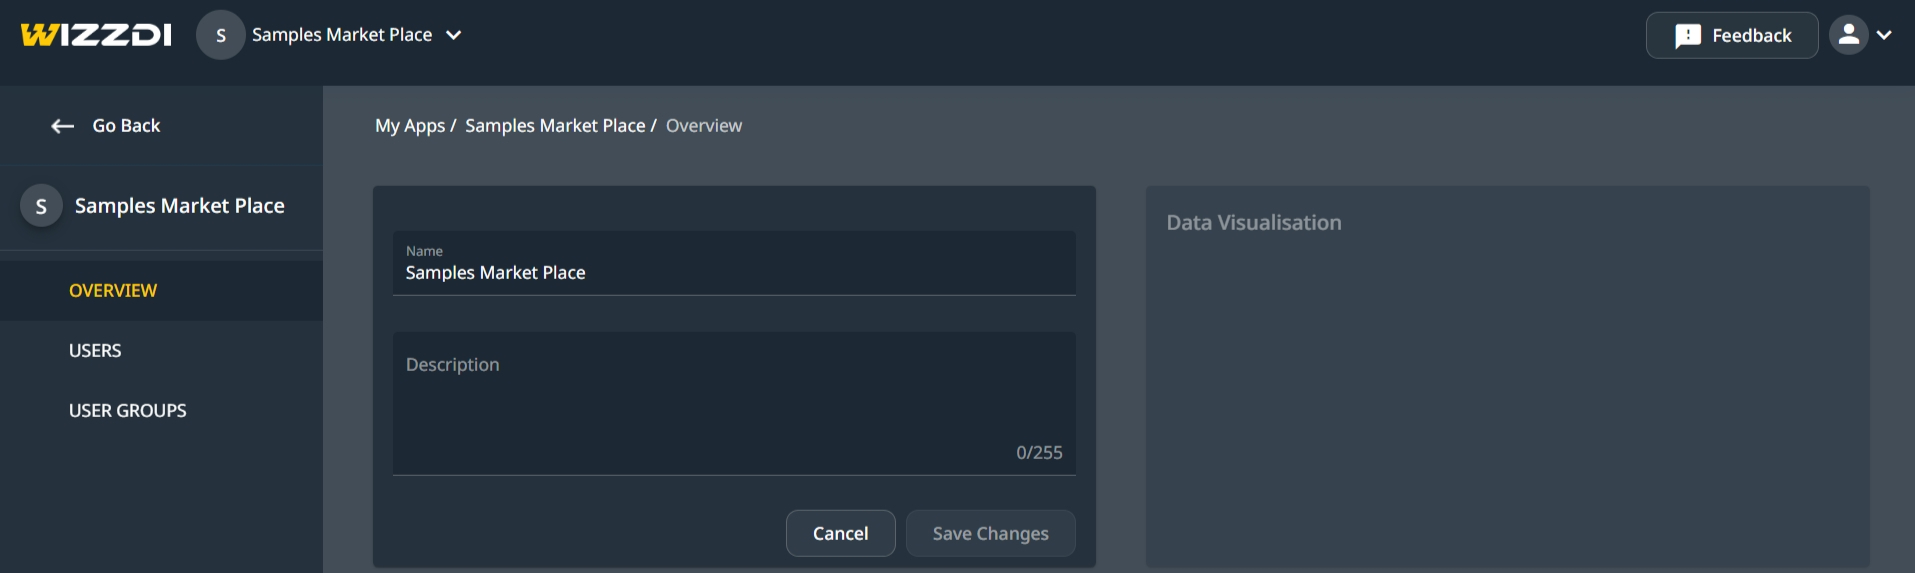
Edit Workspace name and description
Manage users #
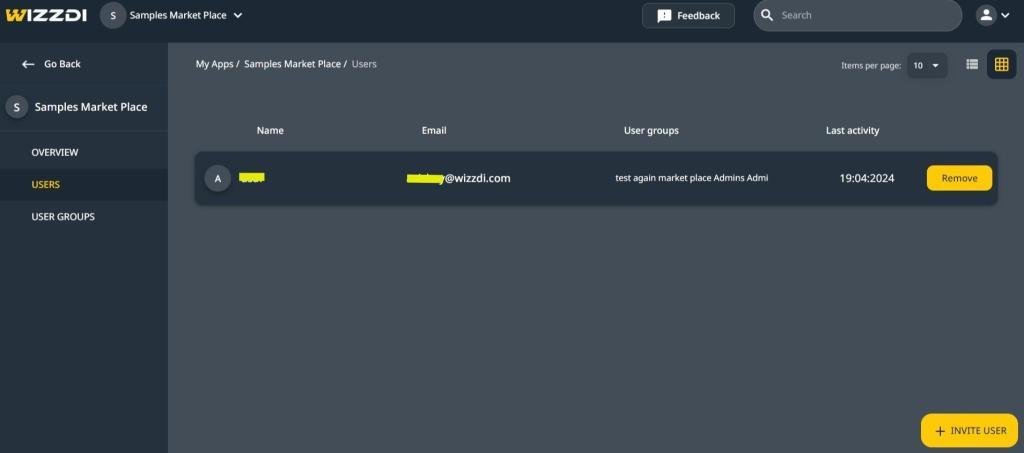
When inside the workspace management, click ‘users’ to see a list of the workspace users. You can use the search area to search for a user by name.
Add a user #
Adding users is carried out by inviting them.
Click ‘Invite user’ to open the invitation dialog.
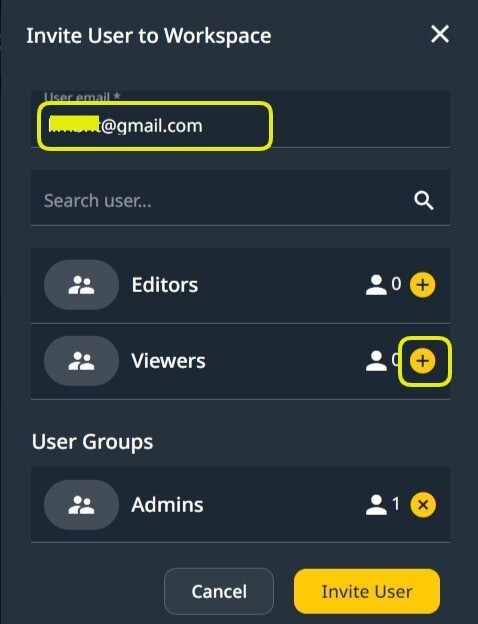
While inviting the user, click on the ‘+’ sign at the right of a user group to add the user to that group.
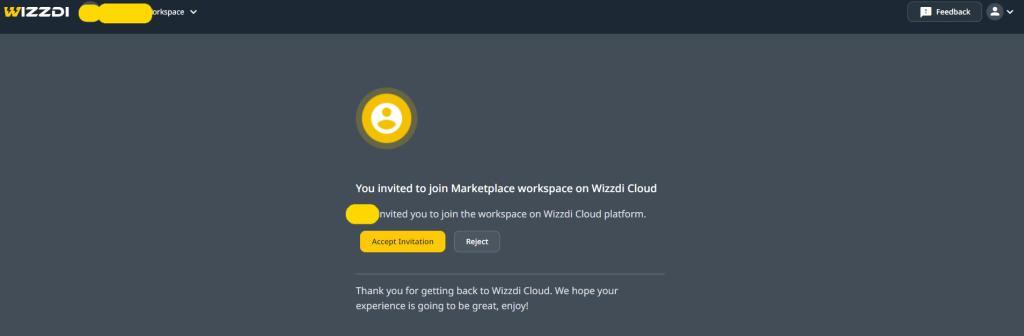
The invited user receives an email in the following format:

If the user has never signed in to Wizzdi Cloud, he or she can do it once the invitation is accepted, using the same email used to invite them.
Once logged in, they should see the following dialog inside Wizzdi Cloud.
Once the invitee accepts the invitation, the workspace is listed inside the invitee’s own workspaces list.

User groups #
By default, each Workspace has three built-in groups.
Viewers, administrators, editors.